
Straight Edge Contractors

Blog / Straight Edge Contractors Service

How To Make A Concrete Driveway?

How To Make A Concrete Driveway?

Not having a concrete driveway designed to support your vehicle’s drive (car, motorcycle, bicycle, etc.) or a space dedicated to their temporary parking can be very problematic.

Imagine getting out of your car and lugging the mud/dirt on the undersides of your shoes into your homes. Not a great thought? Hence the need to build a driveway for your cars! Here, a suitable material for making an efficient track is concrete.

Let Straight Edge Contractors install a durable concrete driveway for you anywhere in El Paso, TX. We are a team of professional and well-qualified driveway contractors who can expertly handle all your driveway installation needs. Click here to book your slot today!

We’ll discuss concrete driveway, their type, and the installation process in today’s blog.

Concrete Type For Driveway

Following are the top three type of concrete that you can choose for your driveway to enhance its aesthetics and durability.

Printed Concrete

Printed concrete is one of the best options for a robust floor covering. This material has the advantage of being resistant to bad weather and corrosion.

The aesthetic aspect is also one of the strengths of this type of concrete. You have many possibilities to personalize it. For example, you can choose the shape, appearance, and color of the driveway. However, the installation cost may be slightly higher. 

Colored Concrete

If you don’t appreciate the grayish tint of classic concrete, brighten your exterior with colored concrete. With this material, you can give your driveway a creative look, which is appealing both aesthetic and originality wise.

You will find a whole range of colors from colored concrete suppliers, as well as floating, swept, or smooth effects. Since it is colored, this type of concrete is distinguished by its durability but is a bit costly.

Deactivated Concrete

Deactivated concrete is categorized as decorative exterior flooring. It is characterized by a rough surface. In other words, its external appearance resembles a gravel driveway.

But, with a few differences, you can easily customize this type of concrete. Thanks to the colored pigment in the elemental composition of concrete, deactivated concrete can be tinted according to the owner’s taste.

Apart from its aesthetic appearance and its non-slip property, deactivated concrete is known for its high resistance to external aggressions. On the price side, this material costs more.

Installing A Concrete Driveway

No matter how tough or rough the “concrete” word sound, its installation is straightforward and easy. All you need to do is follow these five steps to install a brand new concrete driveway.

Preparation Of Concrete

  • Following the foundation completion and the formwork installation, you must define the quantity of concrete you will need.
  • Then you have to mix up your concrete with a concrete mixer. Use a wheelbarrow if the concrete mixer is not available or usable.

Payment

  • Pour the concrete inside the formwork.
  • Spread the concrete evenly (pay particular attention to the corners of the formwork where the concrete has the most difficulty accumulating due to friction).

Settlement

  • Pack the concrete.
  • Remove the excess with a float or shovel.
  • Fill in roughness and inhomogeneity.

Finishing

  • If you want to get deactivated concrete, you can pour a deactivator on the surface of your still fresh concrete. Then, using a high-pressure cleaner, you will be able to expose the aggregates to obtain an exceptionally aesthetic look.
  • You can also use a pressure washer while the concrete is still fresh, without resorting to a deactivator, to obtain the same result as above.

Drying Time

  • Like all surface and outdoor work, it is necessary to cover the structure with waterproof protection (remember to hold the cover with brick or concrete block to prevent it from blowing away).
  • Allow 3 to 5 days maximum before removing the formwork if you are not pressed for time. Otherwise, 48h is a good compromise, often chosen by professionals.

Need more help with concrete driveway installation? Click here to talk to Straight Edge Contractors‘ experts today. We offer asphalt and concrete paving services for all residing in El Paso, TX at reasonable rates.
Posted in:

Related Posts

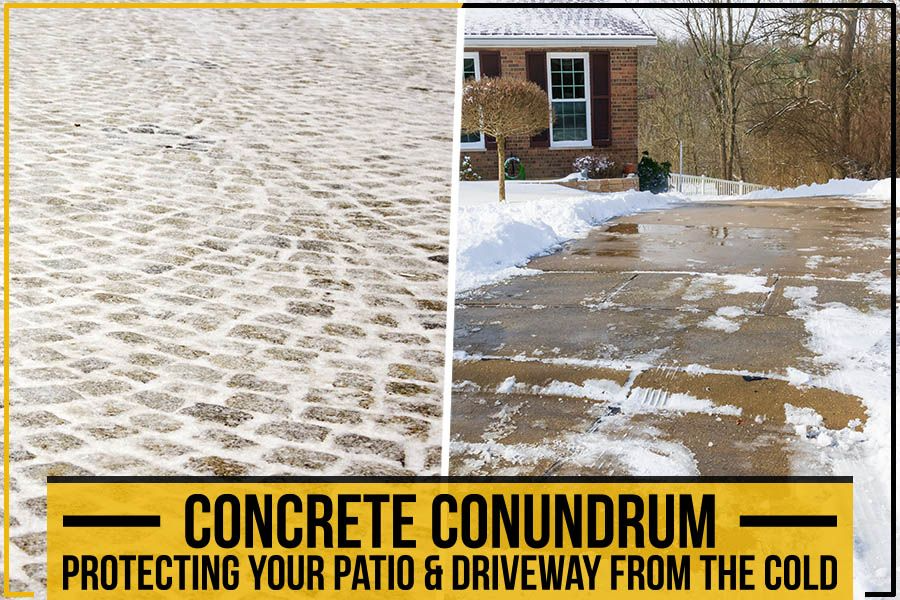
Concrete Conundrum - Protecting your patio & driveway from the cold

Concrete Conundrum: Protecting Your Patio & Driveway From The Cold

The first snow of the year is one of those moments that you know you’re going to enjoy. The kids are finally home from school, and they’re happy as can be! This sounds great, but anyone with a driveway or patio knows how quickly ice and snow can build up on these surfaces in northern climates. So, what do you do when your pavement is at risk of damage due to heavy snow? Protecting your patio and driveway from the cold can be a challenge. As we’ve seen in winter, snow and ice can make it difficult to shovel. Here are three ways to can protect our patios and driveways from the cold. 1) Remove Stills and Oil Stains What can you do to protect your patio and driveway from the cold? Remove stills, oil stains, grease spills, or other contaminants. These will freeze during a frosty night and ultimately damage surfaces when they melt again in springtime. Oil stains and grease spills can also cause your tires to skid when driving over them. Be sure to remove any stains before the weather gets too cold outside. If left to their elements, the untreated stains can wreak havoc on your pavement’s foundation, especially if they go through the freeze-thaw cycle. 2) Seal your Driveway If you haven’t seal coated the driveway in the last two years or so, now is the time to think about it seriously! Sealing the driveway before the winter will not only make your driveway last longer but also protect it from freeze-thaw damage. Hire a professional contractor like Straight Edge Contractors for the best results. A quality sealer will be impervious to water as compared to other coatings that are less durable. You’ll want to apply an additional layer of coating for maximum protection against ice formation on your driveway surface. This is especially important if there’s a good chance of an early frost before year-end. 3) Remember to Clear Snow During Winters Once the winter sets in, you need to be on your toes at all times. Clear the accumulated snow as the weather settles and ensure your driveway is not inaccessible due to heaps of snow. Also, keep your sidewalk and patio free of any snow accumulation. 4) Clear All Patio Furniture and Accessories Winter is not the time to hang out outdoors. So, bring all your patio furniture and accessories indoors. This will protect them from damage from the harsh winter elements. If you’ve got a central heating location customized to brave the winter season, you need to ensure the snow and the weather do not damage it! Your concrete and asphalt surfaces are at risk during the winter season in El Paso. Take action now and call Straight Edge Contractors for a winter maintenance routine. We ensure that your pavement and patio are able to withstand the harsh cold, and customers can visit you without the risk of an accident. Get an estimate from our team now! Schedule Your Free Estimate!

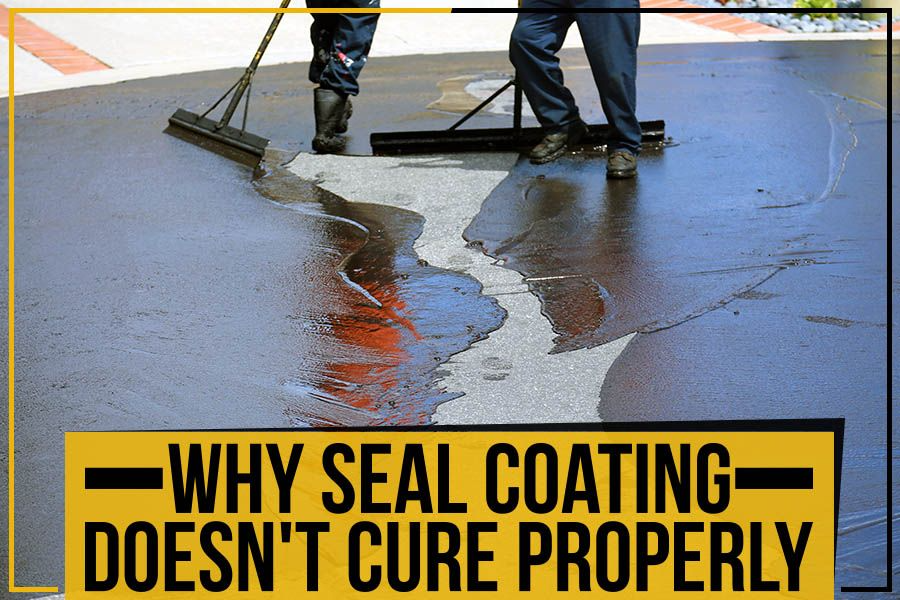
Why Seal Coating Doesn’t Cure Properly

Why Seal Coating Doesn’t Cure Properly

Sealcoating is an essential component of routine maintenance of asphalt driveways. It creates a barrier between the pavement surface and the factors that can damage it, like rain, snow, ice, and UV rays. Several seal coat products are on the market, but not all work as advertised. In some cases, a seal coat will fail to cure correctly, leading to severe problems down the road. If you’re considering seal coating your driveway, it’s essential to research and find a product that will give you the best results. This blog post by Straight Edge Contractors LLC discusses why a seal coat may not cure properly. Common Mistakes: The seal coating procedure demands patience and meticulousness. But even if you follow all the instructions to a T, things can still go wrong. Here are a few frequently made blunders by homeowners when applying a seal coat to their roadways: Applying the sealant too thick or too thin Not allowing enough time for the sealant to dry Seal coating in direct sunlight The Required Time and Temperature: A seal coat should be applied when the temperature is between 60 and 90 degrees Fahrenheit. If it’s too cold, the seal coat won’t cure properly. If it’s too hot, the seal coat will evaporate before it has a chance to cure. Not only must the temperature be precise, but you must also allow enough time for the seal coating to dry. Depending on the product you use, this can take 24 hours to 72 hours. If you don’t have time to wait around for the perfect weather conditions, there are products on the market that can be used in a broader range of temperatures. However, these products usually come with a shorter curing time, so you’ll need to be extra careful not to damage the seal coat while it’s still curing. Why Doesn’t the Seal Coat Cure Properly? An inadequately cured seal coat is more susceptible to damage and wear and tear. This means that it won’t be able to protect your asphalt, and it will need to be replaced more often. Here are a few reasons why the seal coat might not cure properly: Use of Substandard Material: If you use a substandard material, it’s likely that the seal coat won’t cure properly. This is because the material might not be able to withstand the elements, or it might not be compatible with the asphalt. An example of a substandard material is using an asphalt emulsion with a low softening point. Incorrect Storage of Material: The right way to store the seal coat material is in a cool, dry place. If it’s stored in an area that’s too hot or too cold, it can affect the material’s ability to cure properly. Improper Mixing: Mixing is a significant part of the seal coating process, and if it’s not done correctly, the seal coat won’t cure properly. It is because the material needs to be mixed in the right proportions to be effective. The recommended ratio is two parts asphalt to one part sealer. Inadequate Preparation of the Surface: No amount of emphasis is less on the importance of preparing the surface before seal coating. If the surface isn’t prepped correctly, it can cause the seal coat not to adhere correctly, which will lead to premature failure. Ending Note: So, what can you do to make sure your seal coat cures properly? Start by hiring a reputable contractor, such as Straight Edge Contractors LLC in Midland, TX. Seal coating is an integral part of keeping your asphalt in good condition, so don’t wait until it’s too late. Schedule your free estimate! Schedule Your Free Estimate!

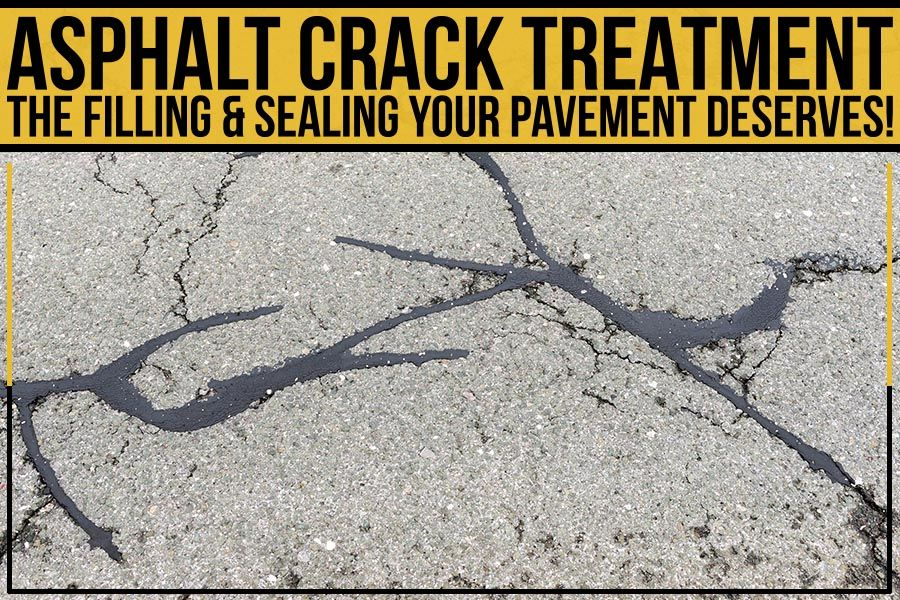
Asphalt Crack Treatment - The filling & sealing your pavement deserves

Asphalt Crack Treatment – The Filling & Sealing Your Pavement Deserves!

Asphalt is one of the most popular paving materials. It is durable, flexible, and long-lasting. Over time though, asphalt can develop cracks. You must seek immediate professional help to prevent further damage and keep your pavement looking its best. If you think your asphalt driveway is beyond repair, you must think again! Contrary to popular belief, most driveways and parking lots can be saved with a little bit of TLC – namely, filling and sealing the cracks. Let’s look at the details to understand the issue better. Active and Passive Cracks: There are two categories of cracks that commonly form in asphalt: active and passive. Active asphalt cracks are also called live cracks. They expand in length, width, and depth over time. These cracks develop due to external forces, such as heavy vehicles or tree roots. These cracks can be difficult to repair due to their size. The leading cause is overloading and thermal expansion, e.g., cracks due to freeze-thaw. On the other hand, passive cracks are caused by weathering or wear and tear. They tend to be smaller and easier to fix. By filling and sealing these cracks, you can prevent them from becoming active cracks. Common Asphalt Cracks Before we get into crack filling and sealing, let’s look at the most common types of cracks. It will help you better understand what kind of repair your asphalt needs. The three most common types of asphalt cracks are: Alligator Cracking: Also known as spider webbing, alligator cracks are characterized by a network of small cracks that branch out from the main crack. This type of damage is usually caused by poor drainage or too much traffic. Block Cracking: Block cracking looks like a series of large, connected squares. It’s usually caused by shrinkage as the asphalt dries and cures. Linear Cracking: Linear cracks are long, thin cracks that run in a straight line. They can be caused by temperature changes, heavy traffic, tree roots, and poor drainage. Filling and Seal Coating Asphalt Cracks: The best way to prevent damage from asphalt cracks is to fill and seal them as soon as they appear. Filling cracks with a sealant will help stop water from seeping into the crack, which can cause even more damage. Seal coating your pavement will also protect it from the sun’s ultraviolet rays, which can cause fading and cracking. Is the Process Easy? Filling and sealing asphalt cracks is easy and does not require special equipment or training. However, it is essential to choose a suitable sealant for the job. There are many different sealants on the market, so be sure to consult with a professional before purchasing. Does Your Asphalt Pavement Require Maintenance? Regular maintenance of your pavement will extend its life and keep it looking its best. Because of this, we recommend seal coating your pavement every two to three years. It will protect it from the elements and keep it looking new for years to come. Contact your local paving contractor to learn about asphalt crack repair solutions for your home. Summing Up: For over six years at Straight Edge Contractors LLC, we have been repairing and maintaining houses and businesses in El Paso, TX. Our unmatched asphalt crack repair and maintenance services will keep your property looking brand new for a long time. Request a free quote today! Schedule Your Free Estimate!